Tiling Point Clouds
Cesium ion allows you to tile massive point clouds with per-point classification, share them on the web, and combine them with other types of content in the same scene, like 3D terrain and satellite imagery.
This guide explains how.
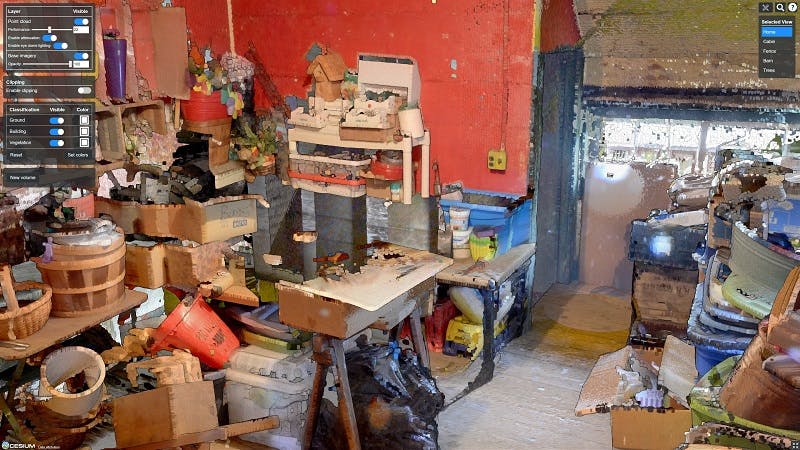
Point cloud with sub-centimeter accuracy of the historic Pharsalia cabins in Virginia.
You need a Cesium ion account to take this tutorial.
Cesium ion is an open platform for tiling and hosting. It will serve your point clouds as 3D Tiles to any compatible client, like CesiumJS.
| Format | File extensions |
|---|---|
| LASer LAS | .las |
| LASer LAZ (compressed LAS) | .laz |
- Files may be zipped.
- Intensity, RGB, Return Number, Number of Returns, Classification, Classification Flags, Scanner Chanel, Scan Direction, Scan Angle Edge of Flightline, User Data, Point Source ID, and GPS Time are supported as per point properties.
- If all points have a value of
0for any property, the property will be treated as a “no data” value and ignored. - Intensity values are normalized between 0-255.
- If your point cloud is georeferenced it will automatically be placed at the correct location on the globe. Cesium ion reprojects your point cloud to EPSG:4326.
Cesium ion tiles your point cloud into 3D Tiles when you upload it. Here’s a sample LAZ file you can download to try this out.
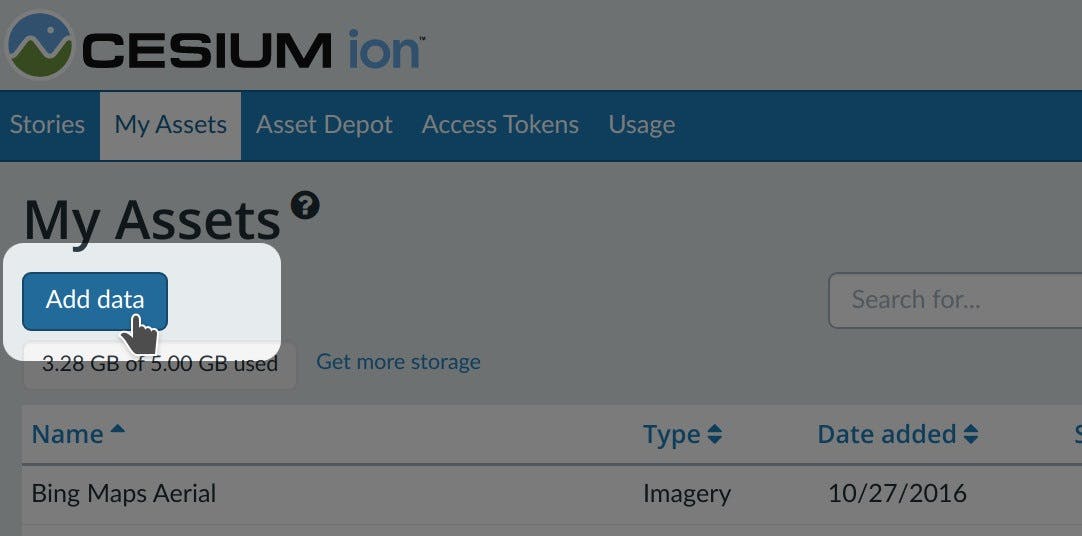
- On the My Assets tab of Cesium ion, press Add Data to upload your model.
- Select Point Cloud.
Add multiple files at the same time to merge them into a single 3D Tileset.
The easiest way to visualize and share your asset is using Cesium Stories.
- In the Stories tab, click New Story.
- Under Assets, click the Add asset button and choose your asset.
- Click on the zoom button (magnifying glass) to go to your asset in the scene. Adjust the view to your liking.
- Click on Capture view to save the view.
- Click Share and give your story a name.
You can now share your data in an interactive scene! Learn more about Stories with this tutorial.
Use your asset in a custom app
When you click on an asset in My Assets, you’ll see a preview panel on the right side of the screen.
- The preview panel displays the asset ID, which you’ll need for loading this asset in CesiumJS or other engines.
- You’ll find a code snippet for loading this asset in CesiumJS at the bottom of this panel.
- Click Open complete code example to see your asset in Sandcastle.
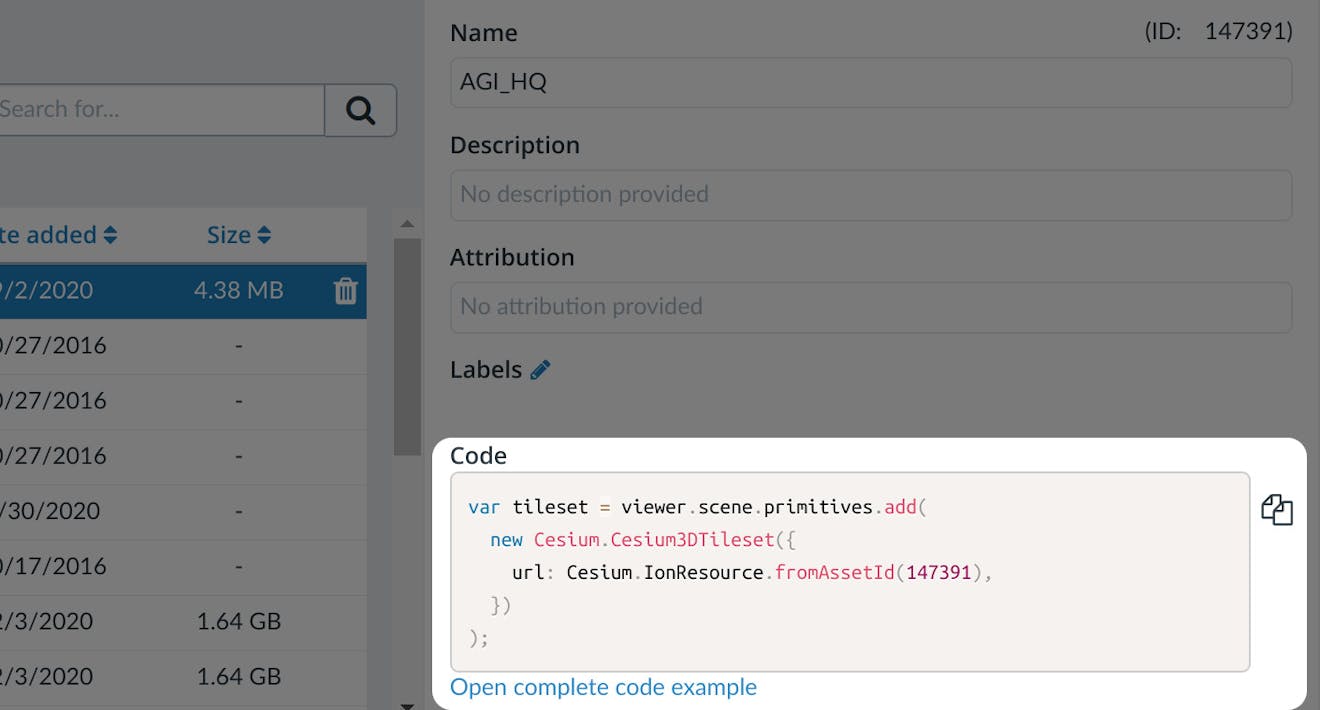
You’ll find a code example for adding this asset to your CesiumJS app at the bottom of the asset preview window.
Learn how to set up a CesiumJS app with the quickstart guide.
Styling
There are a couple ways to style your point cloud in CesiumJS. If your point cloud is uncolored, turning on point attenuation and lighting makes it easier to see:
tileset.pointCloudShading.attenuation = true;
tileset.pointCloudShading.eyeDomeLighting = true;
Use the 3D Tiles Styling Language to color or hide individual points based on per-point properties or position. Below is an example of how to apply a style to color points based on Intensity.
tileset.style = new Cesium.Cesium3DTileStyle({
  color: "rgb(${Intensity}, ${Intensity}, ${Intensity})",
});
See this live code example to see what else you can do with styling point clouds in CesiumJS.